Domain Config
Domain configuration is added to create the Live Player for your Project.
Hint: To simplify configuration, consider creating the Player Domain in a unique Project that will not contain any live streams.
Other live stream Projects can then be configured to distribute their output to this Project.
Creating a Domain
Login to the PUSH Console and navigate to a Project where the Domain configuration is to be created
Select the Live Player tab at the top of the page

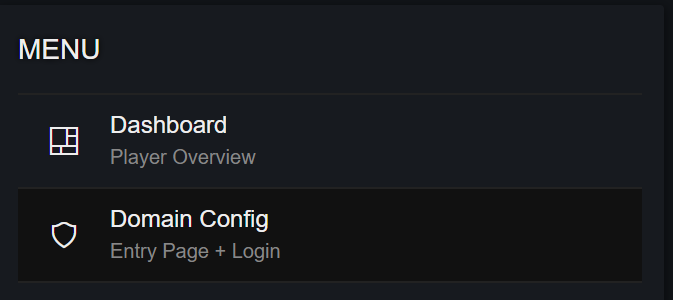
Select Domain Config from the Menu
Press the Add Domain button, or right click and Edit to update an existing Domain

The Create Domain (or Edit) window is displayed
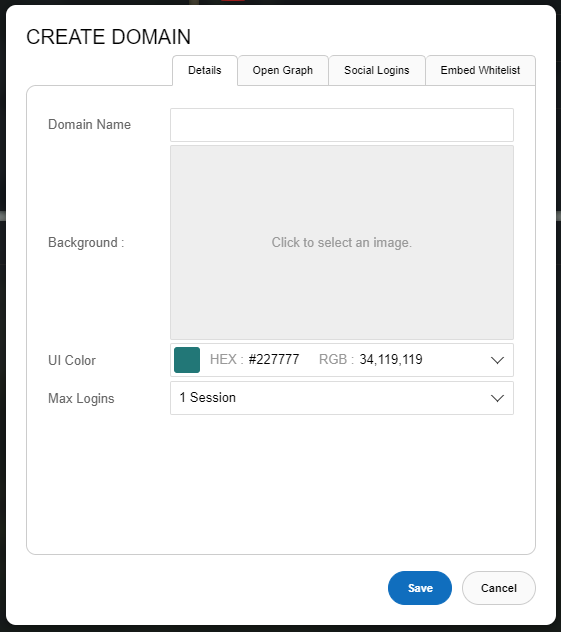
Details tab:
Domain Name: Enter the desired domain with a push.live suffix, e.g. example-player.push.live
Background: Upload a file to use as the domain background image
UI Color: Define the colour to be used for on screen controls in the Player, for example buttons
Max Logins: Choose the number of concurrent sessions allowed for each user, for example across 2 devices like a phone and tablet
Open Graph tab:
Page Title: Browser for the Player
Social Logins:
Press Add Login… and select the desired options
To remove any Logins, right click and press Delete
Embed Whitelist:
Press Add Whitelist and complete the field for external domains the Player may be embedded within
Save to initiate creation or update of the Domain
The Domain now starts creating or updating and will be available to view in around 10 minutes, at the configured <name>.push.live address
Try navigating to the domain in a browser to check this