After the event- Creating clips/exports
Clips
After the event has concluded some clients want specific clips from the show to use for marketing/promotional purposes. By simply going to the clip section on the console, clips can can be easily extracted from the show. This can also be done in real time.
.png?inst-v=2ec0c07d-2593-4a3f-aab5-127ce5c9dfa9)
Be sure to label the clip and add a description.
To make a clip set the start point for the beginning of where the clip is going to start.
Then mark the end point for where the clip is going to end.
Time codes can be directly inputted into the start and end points to give an exact start time. The red tracker line can also be used to set in and out points by clicking on the timeline in the source window. Once the line is set click the start or end button in the clip section to set the point.
3. Once these steps have been completed, click the export button to export the footage to the desired save location.
Exports
If the client wants the full live stream show to be exported then please do the following:
Right click on the scheduled event and a drop down window will pop up. Then click on export/publish.
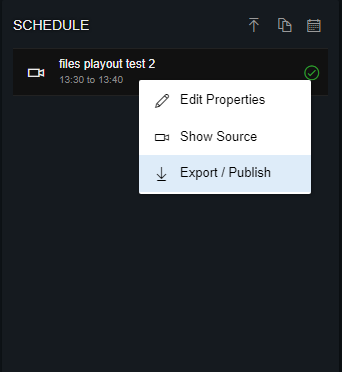
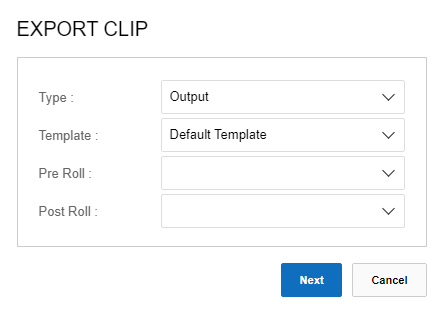
After a window will pop up to select the source of what is going to be exported. Be sure to change the type to output. This will export the feed from the output window which includes the full show file.
Afterwards a window will pop up giving the option to send the export to an email. If logged into the account it will default to your email but additional emails can be added in order to send it to clients.
For more information on clips see Clips.
For more information on bookmarks see Bookmarks.