Creating the Live Project
Let’s start creating our configuration for our live streaming Project.
We’ll add a Project, the main Event Schedule and a live Source to receive an RTMP video stream.
Creating a new Project
First, create a new Project.
Login to the Console, click on the Projects tab located below your user to bring up the project tab:

Click on the New Project button:

The New Project form will be displayed:
.png?inst-v=2ec0c07d-2593-4a3f-aab5-127ce5c9dfa9)
Give your Project a Project Name, upload a Poster if you have one and select the Frame Rate
The Poster we provide will automatically be used as the main Event Poster
Frame Rate, which will determine the fps (frames per second) in which your show will be rendered. Be sure to check the required fps for your show.
Hit the Next button
For more detailed information on the displayed options, see Creating a Project
Scheduling the Event
Next, we need to add Programs to our Event Schedule.
Here, we’ll create the Schedule for the main Event. We can add test and rehearsal Events later.
After hitting Next on the New Project form, the Schedule is displayed.
Click and drag in the Schedule window to add a Program..png?inst-v=2ec0c07d-2593-4a3f-aab5-127ce5c9dfa9)
Fields are shown to add details for the Program, so add a title for the Program and adjust the time if required
Repeat the process for additional Programs if you have them
Click and drag Programs in the Schedule to adjust their timing, or click and adjust the time manuallyWhen you’re finished setting the Program, press Finish
For more information on the program schedule see Program Schedule
Add a Source
We can now add a live Source to receive video into our Project.
Choose Upload to RTMP Server to generate an endpoint for us to stream video to during the Event
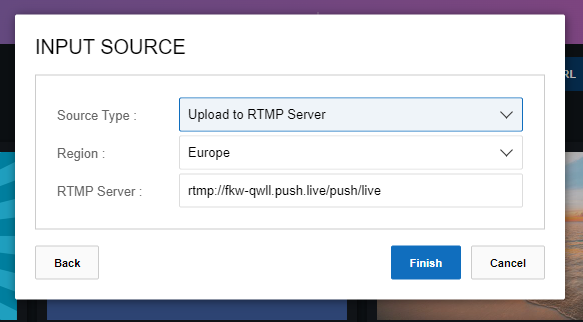
Hit Finish
For more detail on the various types of Source available, see Sources
Our Project is now created with an initial Event Schedule and live RTMP Source.
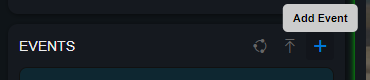
The Control Room should be displayed and we can optionally create a rehearsal Event with the Add Event button: